
Okay, so you know how we’re all trying to eat better and keep our guts happy? For our family, learning how to ferment vegetables for probiotics right here at home has been a total game-changer. It’s this old-school, tried-and-true method that just fills our fridge with amazing, probiotic-rich foods. Trust me, whether you’re a super busy professional or, like me, just a home cook trying to figure things out, diving into homemade fermentation is such a delicious way to give your immune system a little hug. So, let’s get into it! I’ll walk you through my simple steps to ferment vegetables safely and effectively. We want all those good-for-you benefits, right?
Step-by-Step Guide to Fermenting Vegetables at Home for Maximum Probiotics
Okay, let’s be real: when we’re trying to get the most out of our homemade fermented vegetables and really boost those probiotics, every little step counts. I’ve learned this the hard way! So, we’ll go from picking out our veggies all the way to making sure everything’s super safe.
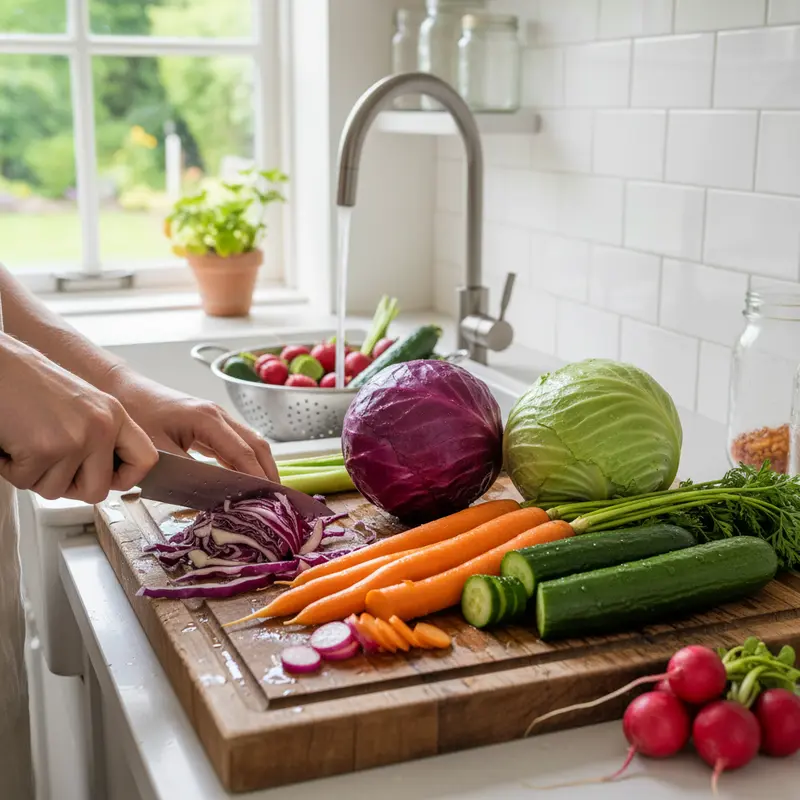
1. Select and Prepare Vegetables: First up, pick your veggies! I always go for fresh, crisp ones—cabbage, carrots, cucumbers, or radishes are awesome. Organic is great if you can swing it. Give them a good wash, but try not to peel them too much; those natural microbes are little helpers! Then, chop them into roughly similar sizes. This helps everything ferment evenly, trust me.
2. Brining and Salt Concentration: Next, let’s talk salt. This is super important! You’ll need non-iodized salt—about 2% of your veggie’s weight. So, for every kilogram of veggies, that’s roughly 20 grams of salt. This magic ratio helps the good bacteria (our little probiotic friends!) thrive while keeping the bad stuff away. You can either mix the salt right into shredded veggies or dissolve it in water to cover them.
3. Fermentation Environment Setup: Now, find a cozy spot for your ferment. The perfect temperature is usually between 18-22 C (that’s 64-72 F). Think of it like a little spa for your bacteria! Make sure the spot is clean, has no weird smells, and isn’t too bright. Light can encourage mold, and nobody wants that! Oh, and don’t forget your fermentation weights and airlocks. They keep your veggies tucked under the brine and away from oxygen, which is key for good fermentation.
- Monitoring Progress: Time to play detective! Check your jars daily. Look for tiny gas bubbles and take a sniff—you want a pleasant, sour aroma. These are signs that your ferment is alive and happy! If you have pH strips, aim for below 4.6 within 3-7 days. That tells us the good probiotics are really settling in, and everything is safe. It’s fun to watch the changes!
- Safety and Hygiene: Last but not least, safety first, mama! Always, always sterilize your jars and tools before you start. And wash those hands! If you ever notice really weird smells, slime, or fuzzy pink or white mold, it’s best to just toss that batch. It’s rare if you’re careful, but trust your nose and eyes. A little bit of diligence goes a long way!
Before you dive in, here’s a quick checklist of what I usually have on hand:
- Fresh vegetables (organic preferred)
- Non-iodized salt
- Glass or food-grade fermentation jars
- Fermentation weights and airlocks
- pH test strips or meter
By following this precise, beginner-focused protocol, home fermenters can produce vegetable ferments rich in probiotics safely and effectively, harnessing the full health benefits of fermentation.
Just to give you a little head start, here’s a quick table with some of my go-to veggies:
| Vegetable Type | Salt Percentage | Fermentation Time | Ideal Temperature |
|---|---|---|---|
| Cabbage | 2% | 7-14 days | 18-22 C |
| Carrots | 2.5% | 5-10 days | 18-22 C |
Here’s a super simple cheat sheet, perfect for when you’re just starting out with how to ferment vegetables for probiotics:
Essential Steps for Successful Vegetable Fermentation:
- Wash and cut vegetables properly
- Add measured salt and mix thoroughly
- Pack tightly into fermentation vessel
- Keep in a cool, dark place during fermentation
- Taste test and refrigerate to stop fermentation
Conclusion
See? Fermenting your own veggies at home really lets you enjoy fresh, probiotic-rich foods that nourish your gut and make you feel good, naturally. Once you get the hang of picking the right veggies, getting that salt just right, finding a good spot, and staying safe, you’ll unlock all the amazing benefits of lacto-fermentation. It’s such an ancient, simple practice, but the wellness advantages? Oh my goodness, they’re huge! You totally got this!
FAQ
Q1: How to ferment vegetables for gut health?
Okay, so how to ferment vegetables for gut health? It’s really about those simple steps! Pick great veggies, use just the right amount of salt, find a good cozy spot for them, and keep an eye on your ferment. Soon enough, you’ll have delicious, probiotic-rich fermented vegetables!
Q2: What is the healthiest vegetable to ferment?
Oh, that’s a tough one because so many are good! But honestly, I love starting with cabbage and carrots. They have such a great crunch and are perfect for growing all those beneficial probiotics. Plus, they’re usually easy to find!
Q3: How can I ferment my own vegetables?
You totally can ferment your own vegetables! Start with fresh veggies, use non-iodized salt to make your brine, let them do their thing in a calm spot (around 18-22 C is perfect), and just watch for those tell-tale bubbles and that lovely sour smell. You’re basically a food scientist now!
Q4: What vegetables can you ferment together?
Mixing and matching is part of the fun! I often combine crunchy veggies like cabbage, carrots, cucumbers, and radishes. They create such interesting flavors and boost those probiotic benefits. Just make sure to chop them all to similar sizes so they ferment happily together.